Baby K's carseat cover tutorial :)

For this cover I picked out 4 coordinating fabrics, my favorite one I made the big square I cut out 8 of them measuring 8 each then, I cut 4 measuring 4x8 the 3 remaining pieces I cut 8 that measured 4 square then 3 that measured 4 by 8. so out of fabric one you need 16 inches, the other 3 you just need 8 inches. I then pieced them together in groups how I thought they looked best :) once I had it all laid out on my floor I began sewing. I sewed with an 1/8 inch seam allowance, once I got the 3 piece sewn together I realized my big square was to big so I trimmed mine down, however my cover is slightly smaller than I would like so I would recommend cutting the smaller squares with an added 1/4 inch then trim as you sew, very important for the 3 squares to be the same as the big square other wise it throws the pattern off :) once I got each line done I ironed them and added each line together. I then ironed again to flatten the whole piece, trimmed the edges so they were all the same length. put aside lay down your backing, I used minky since I am having a winter baby, cut your backing to the same size as your front. With right sides together pin your 2 pieces together and sew 1/4 seam, leaving about 4 inches to turn your cover right side out, pop out corners using a pencil or scissors, iron the seams flat turn in the opening, top stitch all the way around the cover to close the opening, I chose to sew around mine twice just for added looks so I sewed an 1/8 inch and a 1/4 inch, you could get away with just a 1/8 inch if you wanted. next I used some remaining fabric cut 2 straps measuring 4x16 fold in half right sides together, sew down the long sides turn inside out iron closing the opening top stitch same as cover, add velcro, and a button for looks :) now you need to get your carseat out and lay your cover on it and measure where you want the straps to hook too the handle. sew them on and enjoy :)
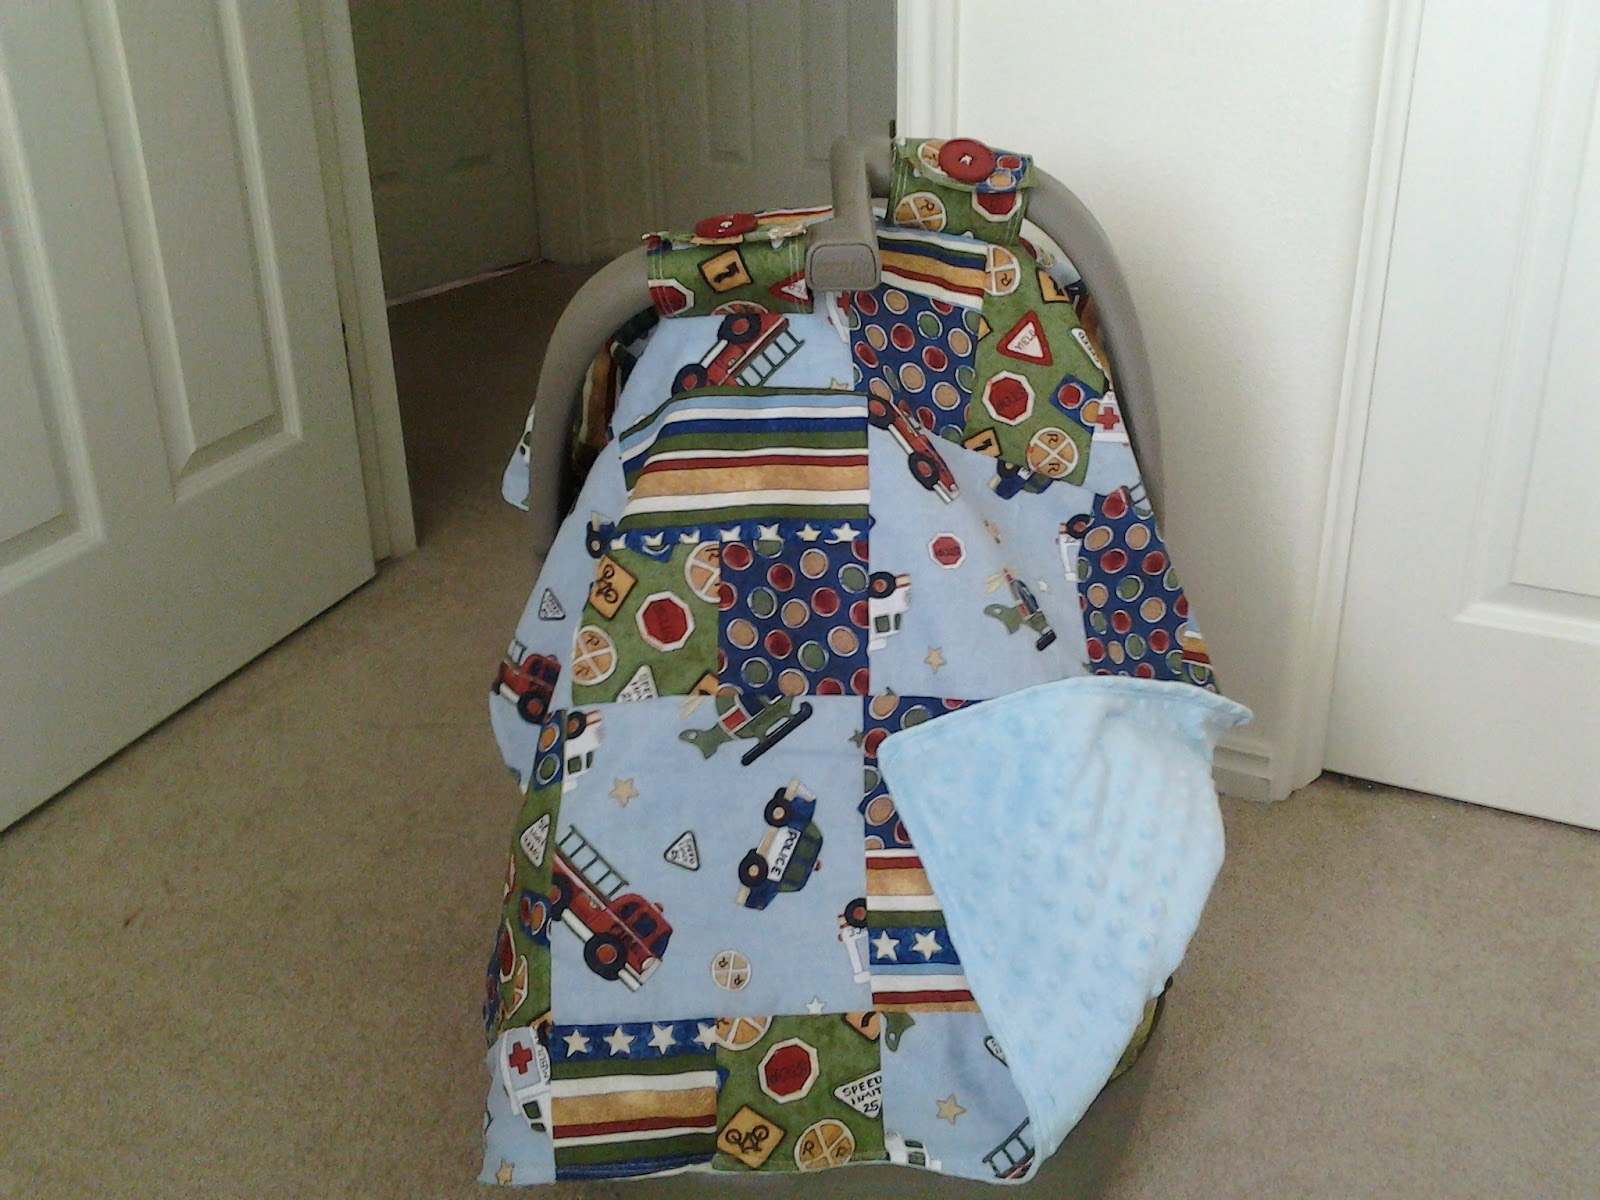
My finished product ended up measuring 29x36